Importing Markdown
Beaver Notes 3.5.0 and later versions support importing markdown archives. To ensure a smooth import process, you need to organize your markdown archive correctly. Follow these steps to prepare and import your notes:
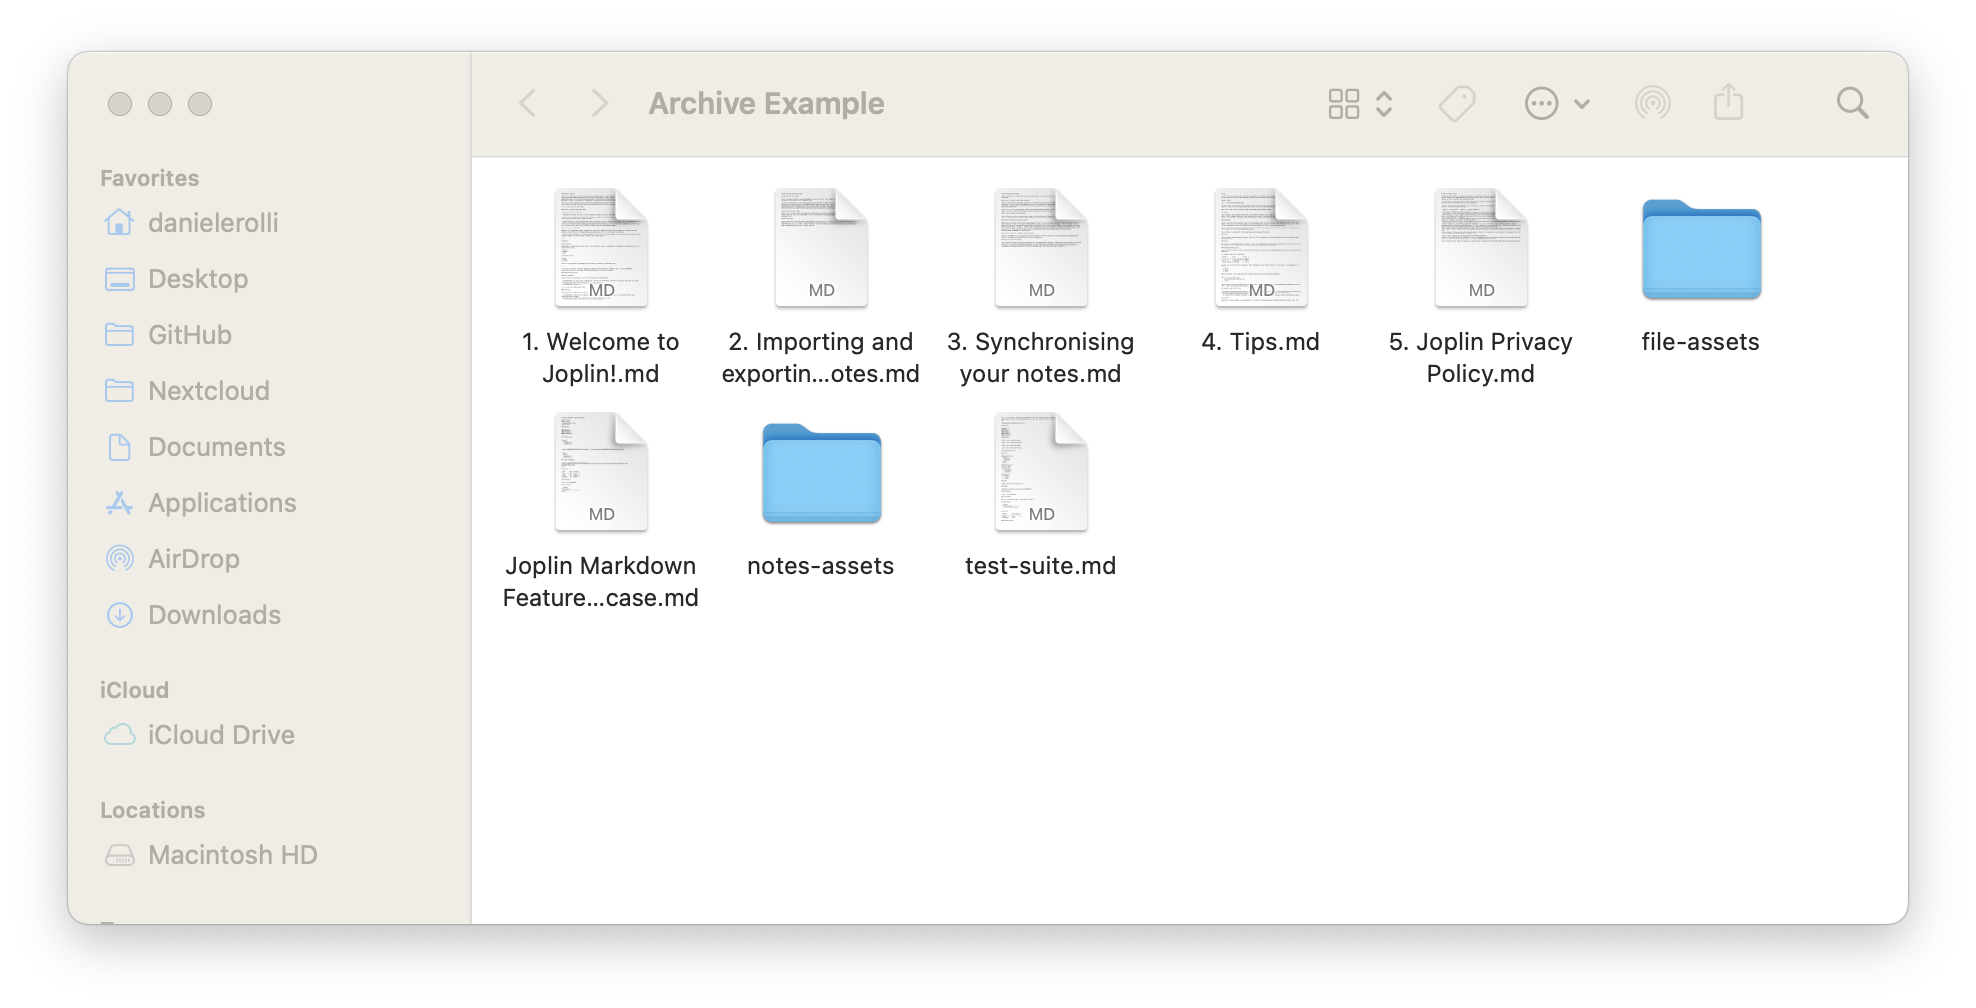
1. Creating the Archive
-
Create a Main Folder: Start by creating a new folder. This folder will contain all your markdown files and assets.
-
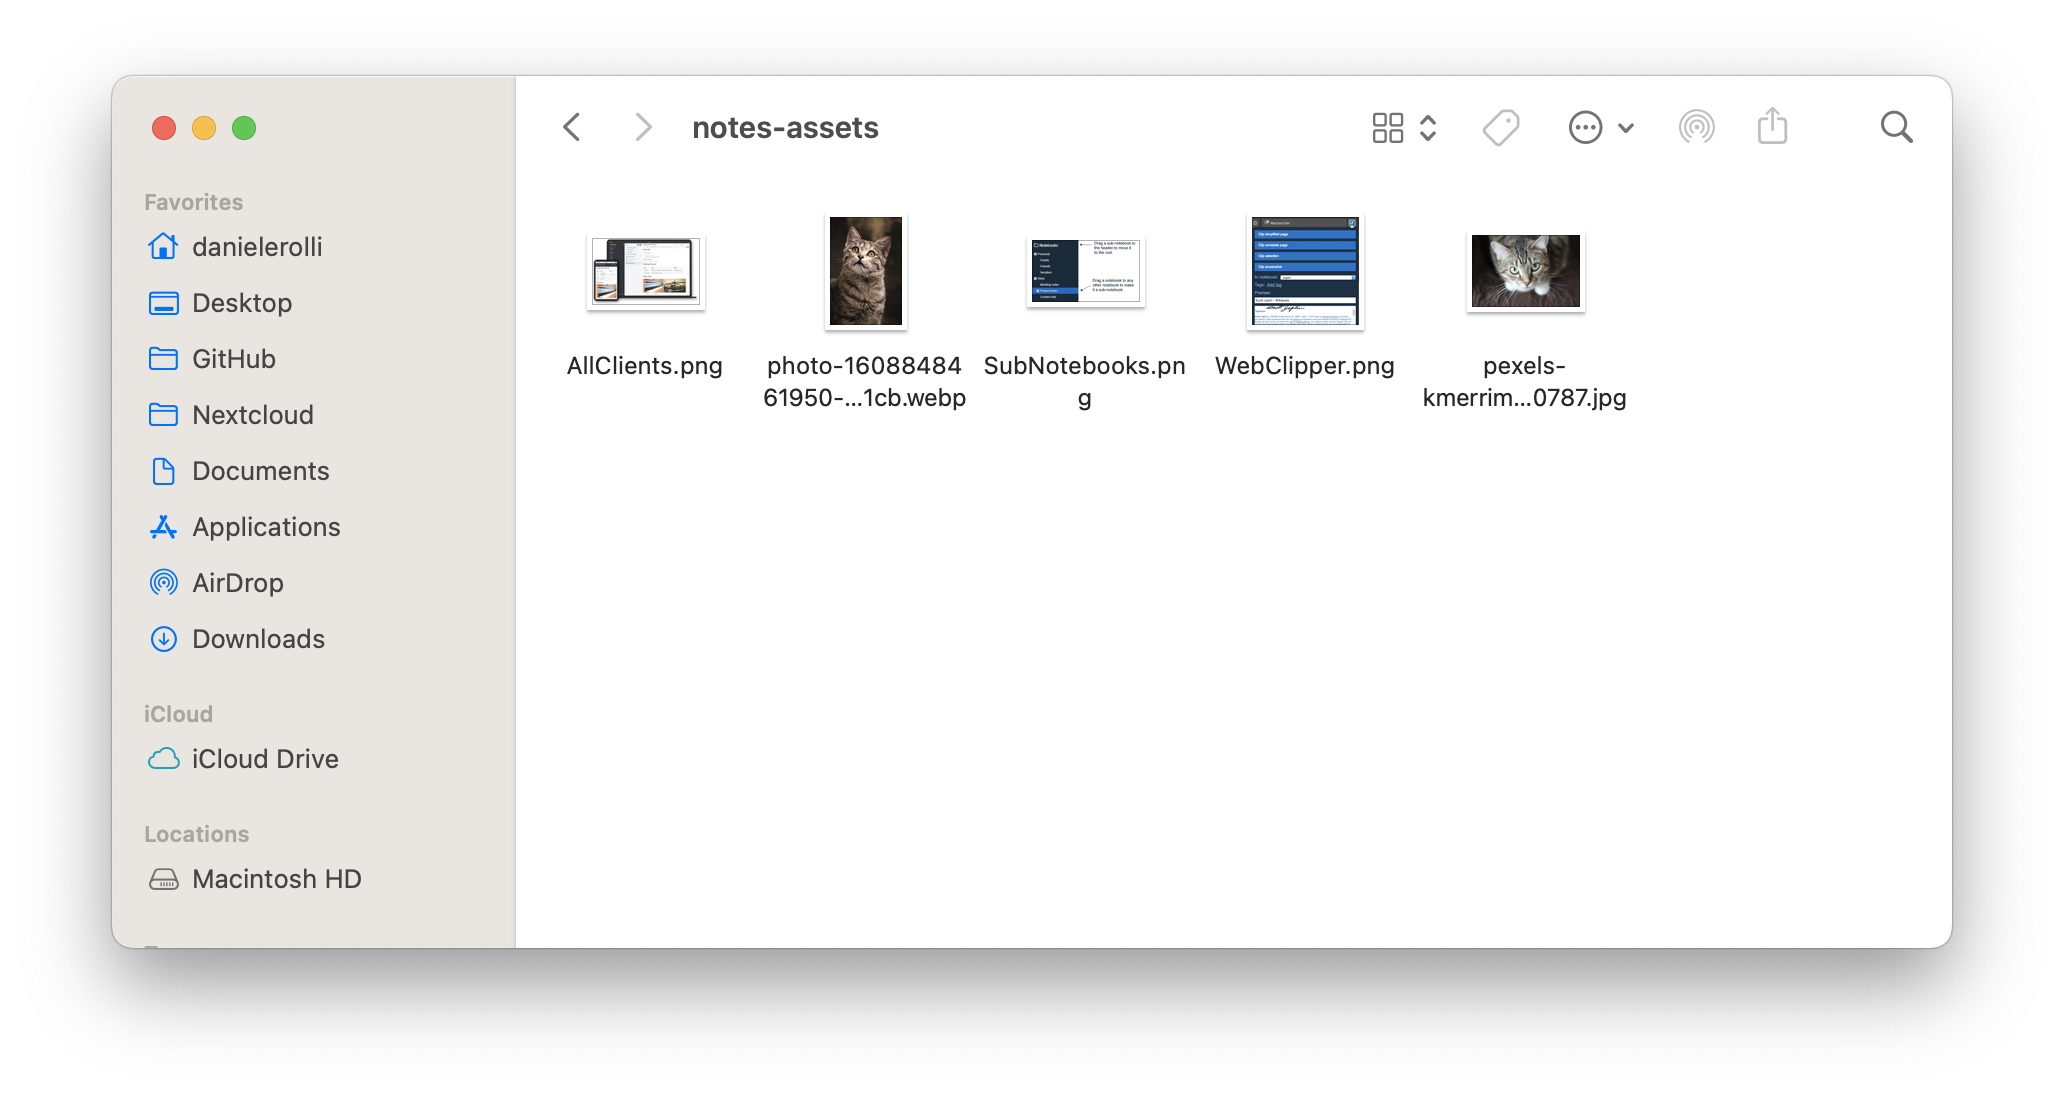
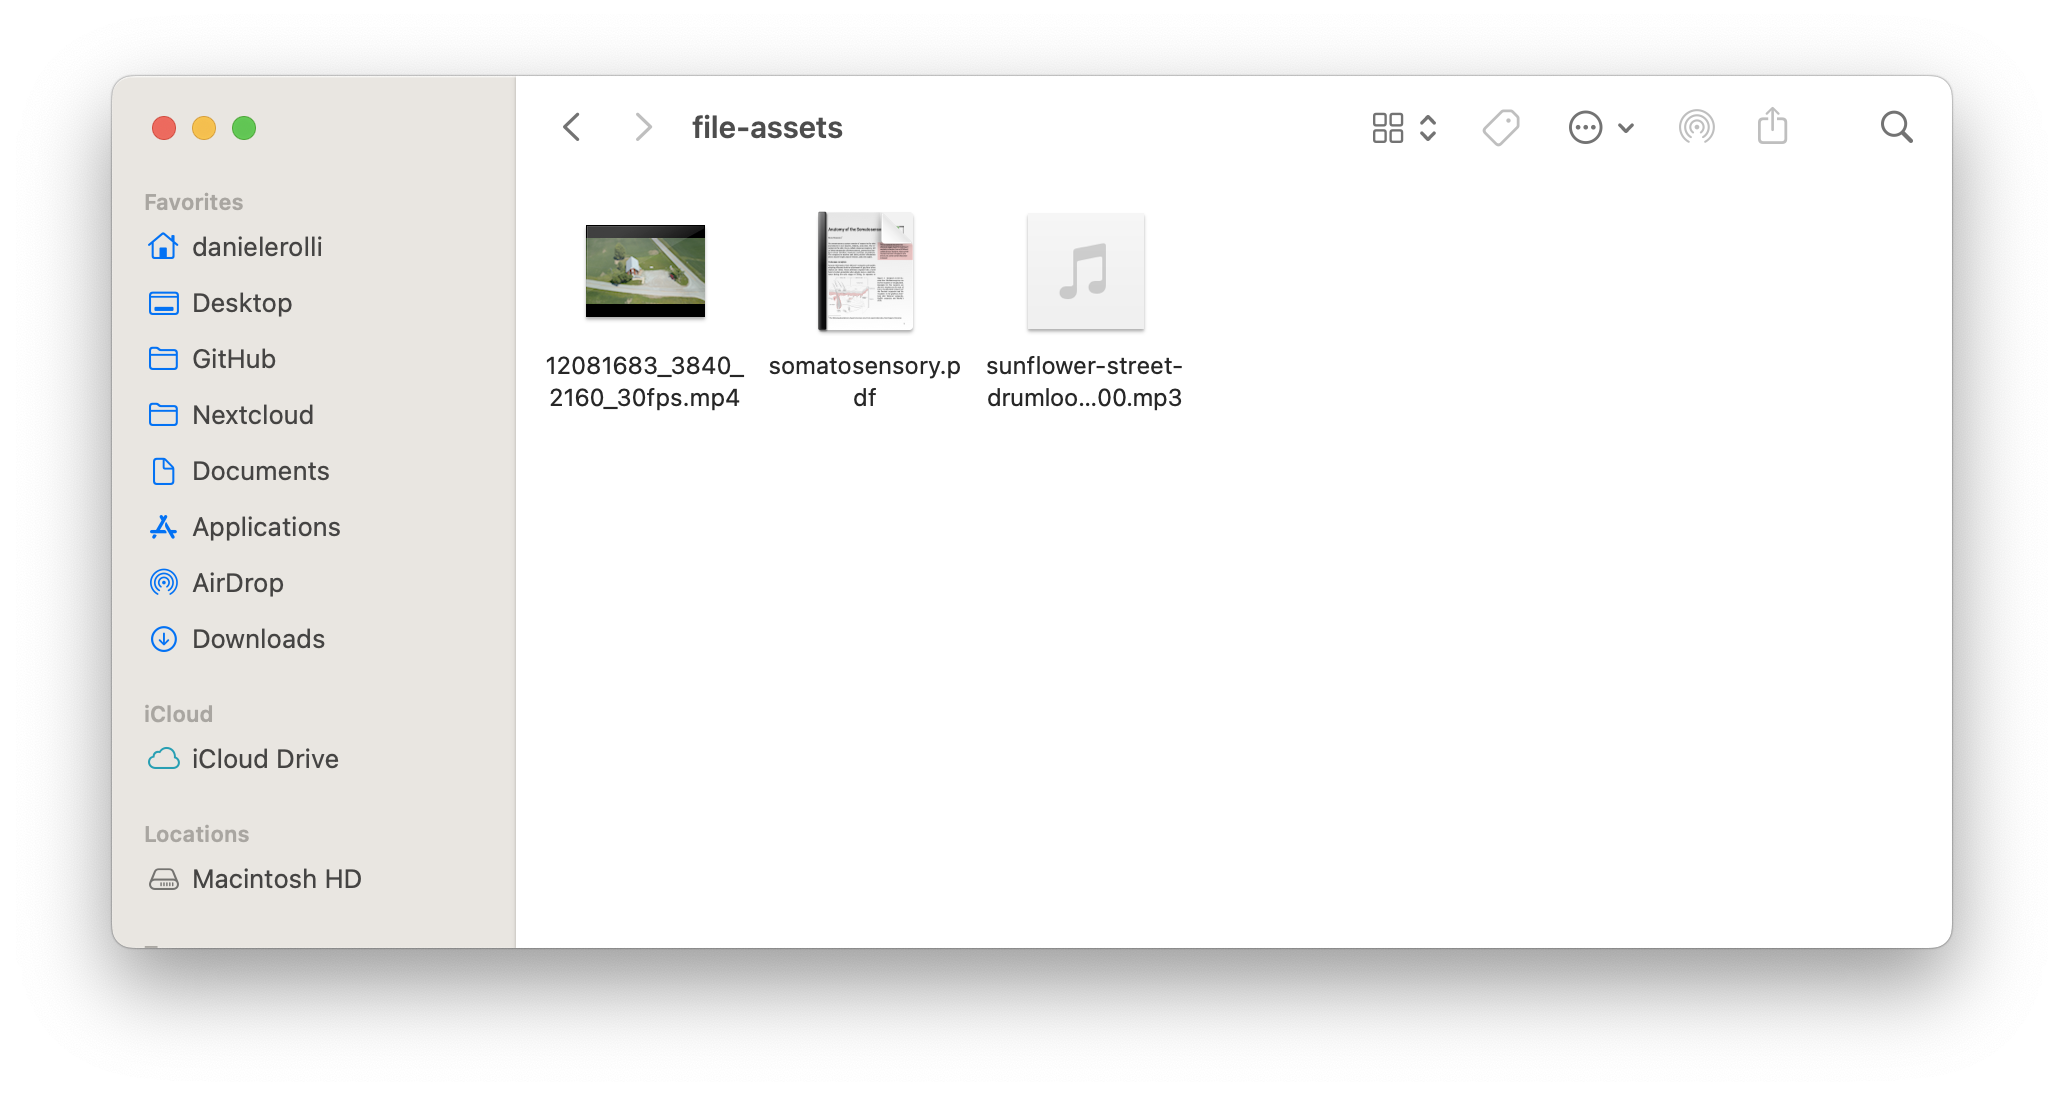
Organize Subfolders: Inside the main folder, create two subfolders:
notes-assetsfor images embedded in your notes.file-assetsfor other files you may have linked.
2. Organizing Images and Files
-
Move Images: Place all images that are directly embedded in your notes into the
notes-assetsfolder. Note: Images added through links should not be moved. -
Move Other Files: Place all other files (e.g., attachments) into the
file-assetsfolder.Ensure that these files are directly inside the respective folders, without any additional subfolders. Beaver Notes does not support retrieving files from nested subdirectories.
3. Importing the Archive
-
Access Import Settings: Go to
Settings > General, then scroll down toImport Markdown. -
Select Archive: Click the "Select Path" button and choose the main folder containing your markdown files and assets.
-
Start Import: Beaver Notes will begin importing your notes one by one.
If you encounter any issues during the import, please contact us:
- Email: danielerolli@proton.me
- GitHub: Open an Issue with a screenshot of the error.
To help locate the error, you can enable Developer Mode from the menu bar by selecting
View > Toggle Developer Mode, or use the following shortcuts:- Mac:
Opt + Cmd + I - Linux/Windows:
Ctrl + Shift + I